Lead Guitar + Harp + piano

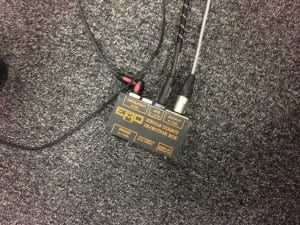
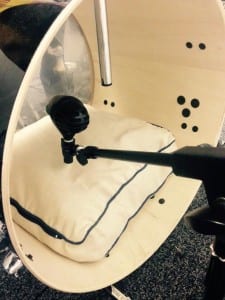
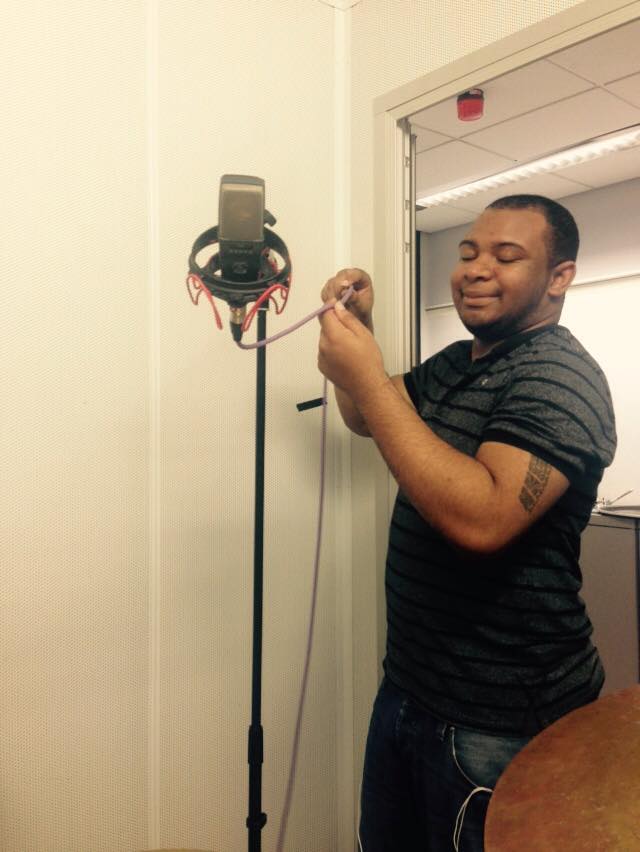
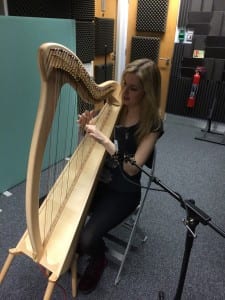
Today was extras day, so we decided to set up in the Live room and the dead room, we set the Harp up in the live room, using the Jack output on the harp to DI straight into a box and then into the wall snake. we also set up an AKG 414 to get the sound of the acoustic harp. At first we had a bit of trouble getting a signal from the DI box, but it turned out that someone had put the jack cable into the line in instead of the instrument input. after we fixed that we listened to both of the signals together, and blended them to get a nice, balanced sound.

Harp


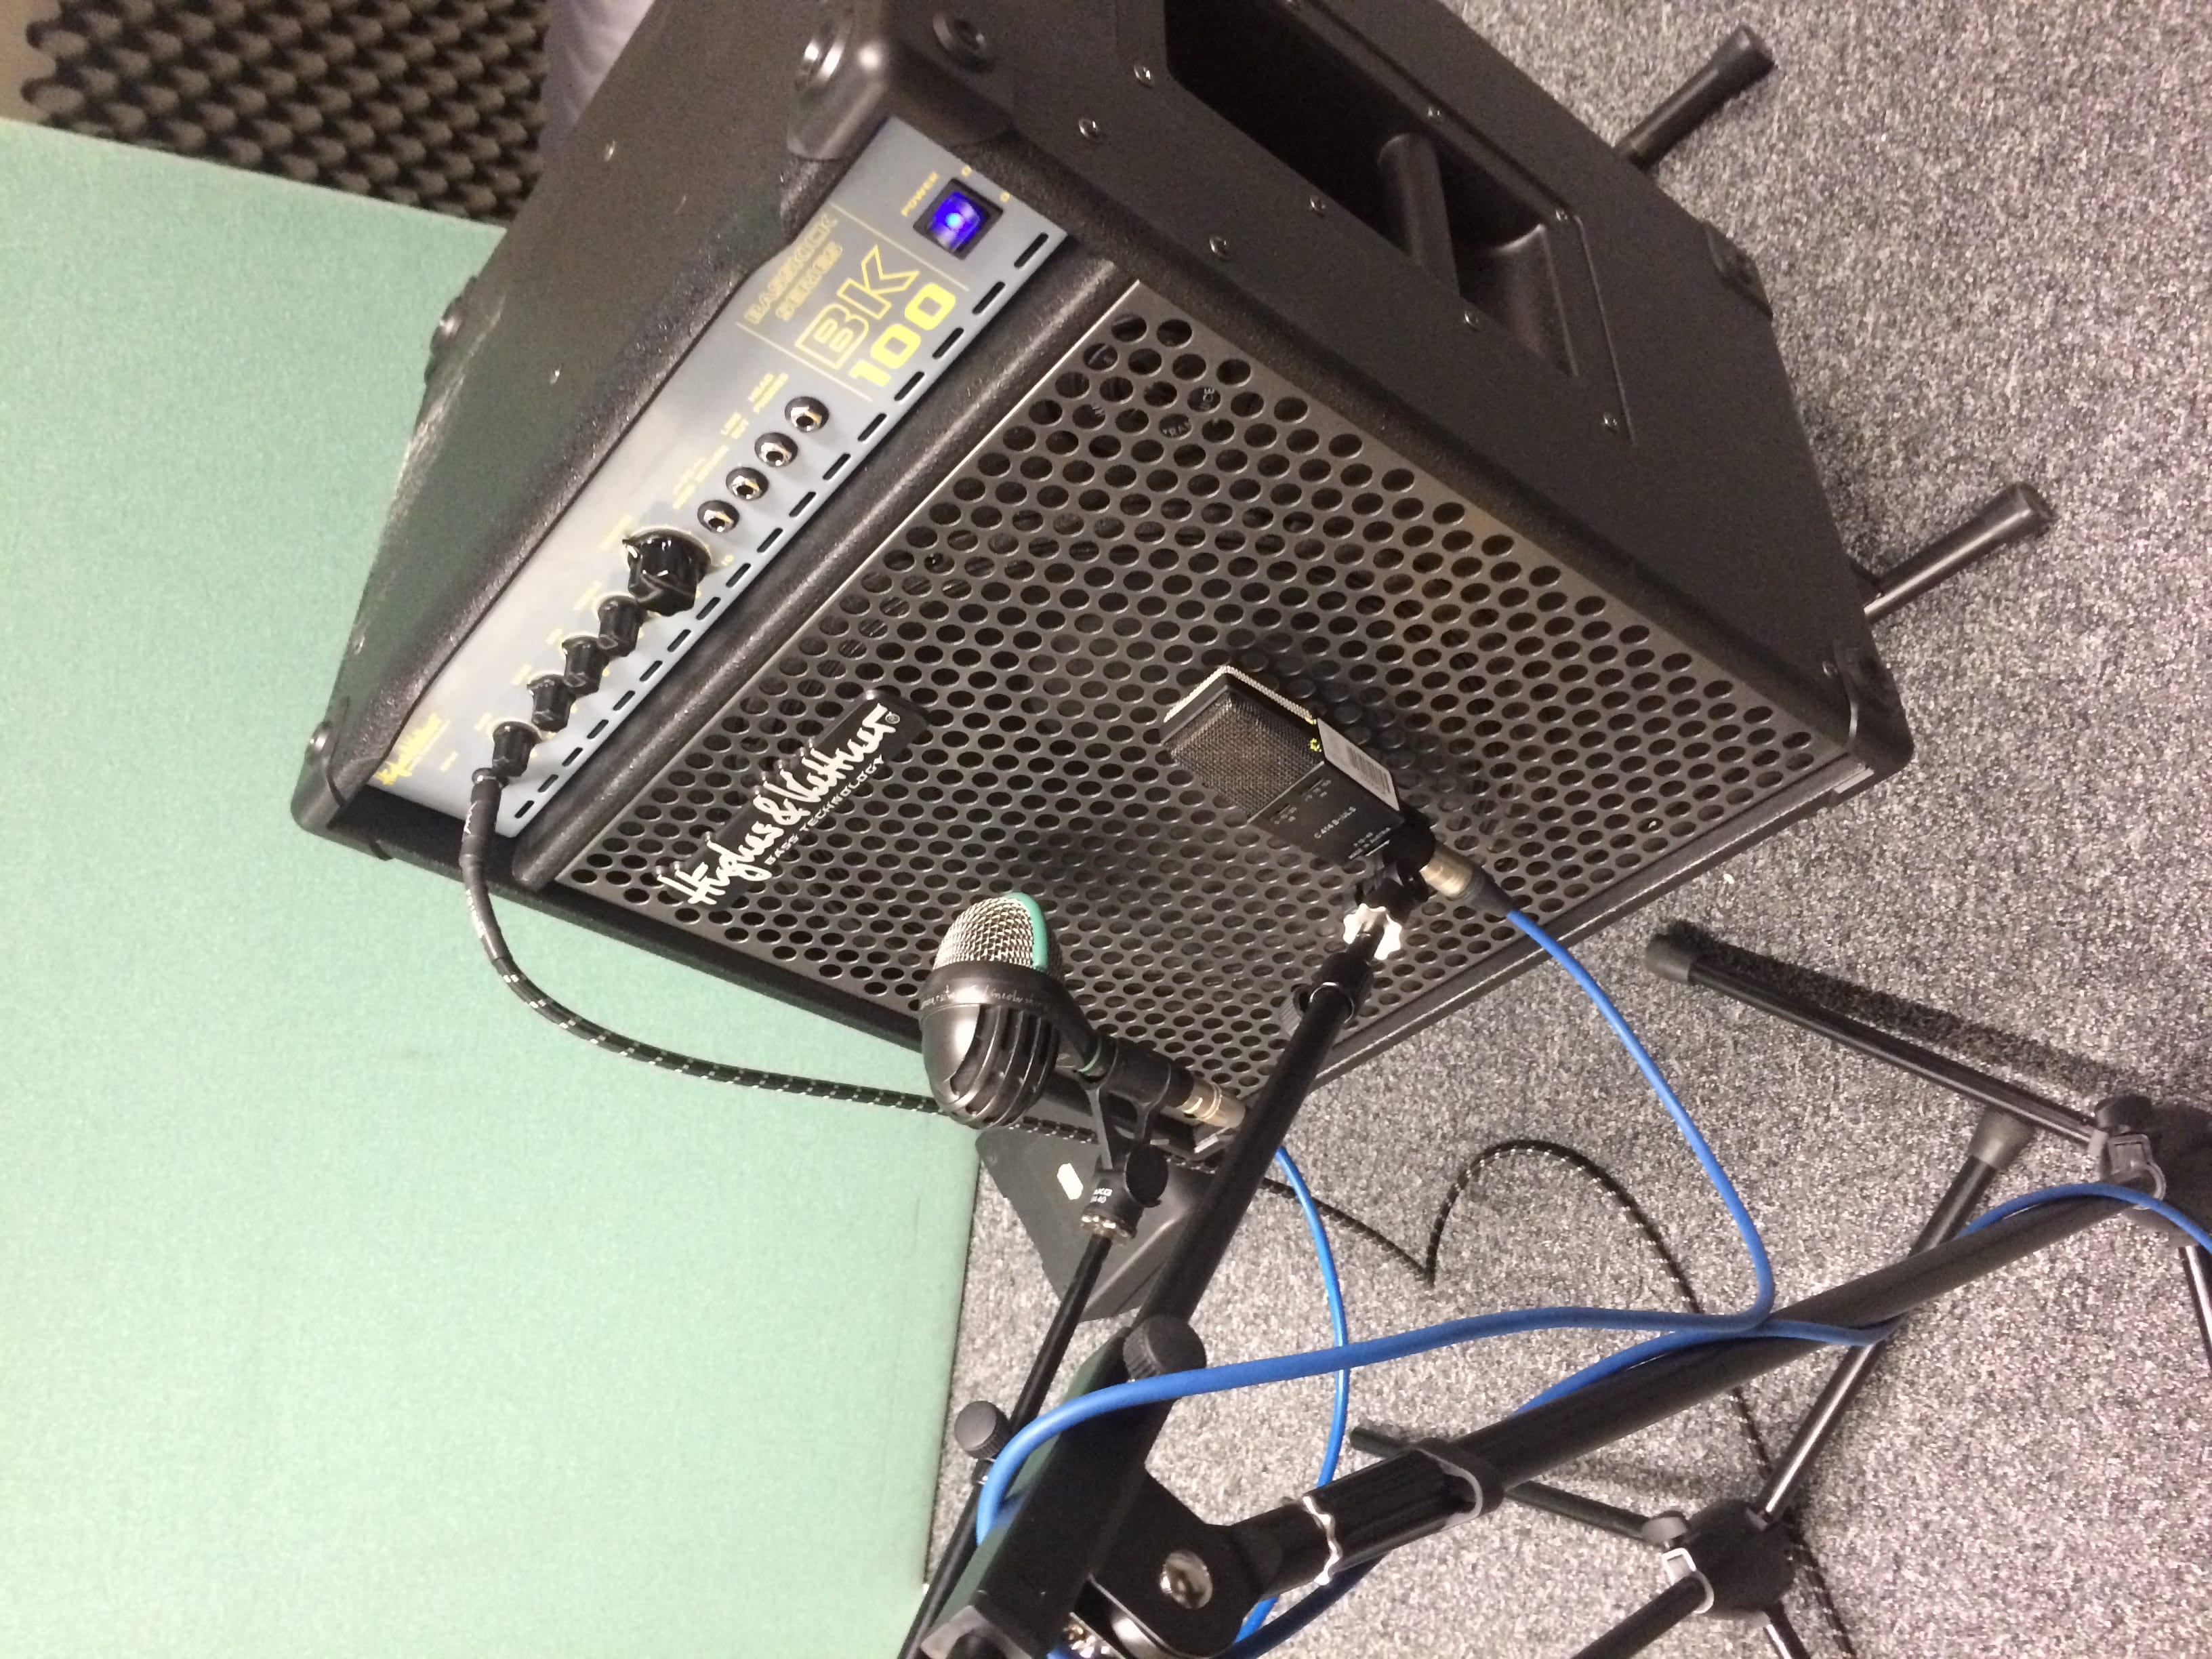
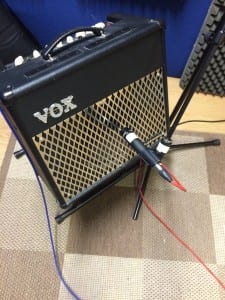
after we recorded it we listened back to the Harp to check everything was okay, and then proceeded to set up the electric guitar amp. we set up an SM57 microphone against the amp, and an AKG 414 as a room mic, set to omni-directional to pick up the sound of the whole room. we spent about 15 minutes discussing what tone we’d like to fit the song, but the guitar choice was wrong for the song, whereas this piece would have suited something like a stratocaster, we only had a Les Paul, with pickups more suited to heavy music, rather than pop rock.

Lead guitar


after a lot of tweaking with the guitar and the amp we found a usable tone, then we went through to the control room, set up the headphone mix and microphone levels, and went for a take, there was some mis communication over the structure of the song but in the end we managed to record 2 usable solos for the middle and end of the song. when we came to recording the piano it was relatively easy, we just used the line out from the piano and plugged it into the DI inputs on the snake, we set up the headphone mix and the gain on the line signal and were able to record in one take, after this we had the chance to record a few string swells and then we decided we had enough to work with.

Vocals

One of the most important things to get a great vocal take is to make sure that the performer is comfortable with their environment. If the singer is uncomfortable then you won’t get the best performance they can give you. so we made sure that Abigail was comfortable with certain things such as microphone placement, height, the headphone mix, and the particular microphone being used. Pitching is also an important aspect to consider, you have to be sure that the key of the song is correct for the singer, you’ll be able to tell if the key is too high or low for the performer to sing comfortably or not.


Vocal 3 Vocal 2 Vocal 1

Proximity effect was considered because the closer you are to some microphones the more low end there will be. we set the microphones up so that they were slightly off axis, this is to reduce the strength of sibilances in the recording, we also put a pop filter in front of the microphones to reduces plosives, then we tested the 3 microphones that we had set up; a Shure SM57, an AKG 414, and  an Electro-Voice RE20. out of all of these we decided that the RE20 had the nicest sound from the three, because it had a more creamy sound than the other two, which suited Abigails voice and complimented the piece well.

Vocal Eq


We EQ’d the microphone to cut out some low end because Abigails vocals are higher pitched, this means that the lower frequencies weren’t being used. after we picked the right microphone, set it up properly, and EQ’d it, we went for a take. Everything went well. We were going to go for a second take to double track the vocals but we unfortunately ran out of time.

Acoustic Guitar

This week we recorded 2 acoustic guitars, we decided to record them both at the same time for a better live feel,  we had one guitarist set up in the live room and one in the dead room. for one guitar we decided to use an SM57 for the close up and a condenser mic for the room mic, set to an omni directional polar pattern to pick up the rooms overall sound.

Guitar 57

Guitar room


For the other guitar we decided to go with a DI signal, as the clean sound complimented the track and the other guitar well. the SM57 was placed closer to the neck and the soundhole on the acoustic because that way you can avoid heavy guitar pick noises while retaining some of the low endof the guitar,  we also placed the r oom mic at the other side of the room, but with the front face of the mic still pointing towards the guitarist, but set on the omni setting because then it pics up the reverberation of the whole room rather than using a cardioid pattern that would just pick up sound in the direction that it is facing. with the DI’d guitar we had a problem with a lot of humming, after a few minutes we realised that we needed to switch the earth lift switch on on the DI box, which gets rid of all of the background noises. when both guitars were sent into the desk and protools at the right levels we went for a take, everything went well except at one point where both guitars were meant to stop for a break one didn’t and we had to do another pre-roll recording to make sure that it ran smoothly. when everything was sorted to run smoothly we played it back and listened for any mistakes and for the general sound of the piece, and to check that we were all happy with everything.

Week 6 – Bass

This week we recorded Bass. We decided that it would be best to DI the bass straight into the desk, As well as using a microphone signal through the bass amp, We used a D112 microphone, which is a dynamic microphone that is designed to pick up lower frequencies at a higher quality, and also try an AKG414, these mics are usually better for vocals but we hoped that the extra clarity would help to give the bass a more clearly defined sound. We used the DI input to pick up the pure output of the guitar and the picking noises, this is great for blending in while mixing the bass in the finished track.


Bass1 Bass di Once we had everything set up, correct levels, and headphone mix, we found out the guitars intonation was out far enough that it was noticeable, to counteract this we detuned the bass slightly to make sure when the frets were pushed down they were in tune. After this was amended we went for a take, everything went well excepted the ending was cut short. To rectify this we went for a preroll record, this is basically where the track gives you a 4 bar count in with the rest of the music playing, so you can just jump straight in when the recording starts and it blends in nicely. After a few attempts we got a take that worked well and stayed in time, so we were able to crossfade the track and to make it sound more polished.

Week 5 – Drums


Multi-track Recording and Music Production

Week 5

This week was the week we recorded the drum take for Don’t Stop – Fleetwood Mac. we started off by setting up the drum kit, and the microphones around it. for microphone selection we used an Audix D112 for the kick drum, a Shure sm57 for the snare top, an Audix i5 for the snare bottom, 2 Audix D2’s for the rack, and floor toms, mounted onto clips that attached to the rim of the drum, 2 AKG 414’s for the overhead microphones, we placed these so that the snare would be an equal distance from each mic, and would be in the center of the stereo mix at all times, and finally an Audix ADX 51 for the room microphone, which captures the overall sound of the drumkit, and the room it is in.

We used Dynamic microphones for the snares and drums because they are more rugged, so can resist being hit by drumsticks better than condenser microphones, but also because they can withstand a higher amount of SPL than condenser microphones.

My main duty in the recording process was to work the desk, this basically involved setting the gain levels for the microphones, sending the phantom power to the right microphones, and getting the signals into protools, and out through the monitors AFTER pro tools. to set the gain levels we asked the drummer to play specific drums, and set the gain so that the two yellow lights were growing brightly, before lifting the short faders and pressing down the mix button to listen back to the signal without it going through protools, we repeated this for each microphone, making sure nothing was too loud or quiet so we didn’t have any distortion or hiss. We then loaded them into pro tools at the right levels, so they were peaking just into the yellow zone of the mixer views. we set up a basic headphone mix for the drummer, guide vocalist, and guide guitarist, we did this by sending them all the same mix via the desk. then we were ready to record, we decided not to use a click track with our recording so it would be easier for all of the performers to keep in time with eachother and not the click, this isn’t as precise as a click track but it’s faster to get a usable track than it would be with a solid click. before we started, we flipped the phase on one of the 2 snare drum microphones, this added more overall power to the sound, where as if they were both running in the same phase the low end would be cut. after this we recorded two takes.

Drums13 Drums15Drums14 Drums12 Drums10 Drums11 Drums9 Drums7 Drums6 Drums4 Drums5 Drums3 Drums 2 Drums1