When it came to starting my mix I immediately zero’d all of the faders, this was so i could start focusing on the drums individually. I rearranged the layout of my mixer faders purely out of the personal preference of starting with the kick drum and finishing with the overheads and room microphone. I managed to get a good mix of the drums, remembering to leave a fair amount of headroom, and then started to EQ them, I like being able to have a polished drum sound to base the rest of my mix on, it just makes everything else flow better. I used EQ to mainly clean up a lot of the sounds, cutting muddy signals from the mix, using a jigsaw effect to try and interweave the Bass guitar and kick drum, trying to blend any instruments with more than one recording, and giving instruments such as vocals an tweak to add qualities that i found to suit them more, such as being smoother in the vocals but crisper on the acoustics. I then went through the whole mix and applied compression to any tracks I felt that would benefit from it, such as vocals, and snare. I tried to be gentle with compression as i’m personally not a fan of over compression, but to make sure that all transients were balanced out it was needed. I then started panning and balancing a few tracks that weren’t already panned (drum overheads, guitars). At first i tried panning the harp, but found that using the AutoPan plugin created a really cool effect that complimented the instrument and made it stand out a little more in the mix. For the Guitar solo i used a slapback delay, i’ve lined it up so that the delay almost harmonises with the next phrase being played on the guitar, this adds a lot of texture to the playing, and fills out any slightly weak signals. For this i decided to set up an aux send with the Delay attached, purely so i could retain some of the dry signal, and keep the guitar sounding as full as possible. I then decided to set up my reverb aux. I have applied reverb to almost all of my tracks, but kept it to an almost unnoticeable level for most. I decided to add a lot of reverb to the Harp and Lead Guitar purely because it added a lot more body and a nicer sound than the dry signal alone, it also takes away the sharpness and clarity of any mistakes that could have been made while playing. I am particularly impressed with the affect of using reverb on the vocals, rather than make it sound too washy it actually made the vocals just sound smoother and more full. The final thing i did was export that track as a WAV file, re-import it onto a fresh project, Duplicate the track, and use parallel compression to flatten out any transients on the whole file, this gave the feeling of the whole track being slightly stronger and more balanced. I then used a final EQ on the master fader to iron out any creases, and exported.
Tidying up and taking a project file
This week we started to arrange the project so it was ready for mixing. We started by making sure everything was ordered and named correctly, such as putting mic names in the track titles, (e.g. Guitar Condenser, Guitar DI etc.) this was so it was easier to see which guitar sound we were looking at and to make it easier to see the tracks when it comes to the actual mix. We colour coded groups of tracks so they were clear and easy to see, we could see where drums ended and bass started. We took all creative fades off, like for the end of the song, or track parts. We made sure that all of the crossfades for the preroll takes were added so we wouldn’t have to concentrate on little things like that later, and then we started to take out any dead space between tracks, such as a long space between lead guitar bits or anything like that. All of this was good practise so when it comes to the mixing stage, absolutely nothing got in the way of the creative thinking of mixing. The final thing we did before saving the project was create a very rough level for each track, just so when we opened up the project at home we could hear everything before starting our own work. then we saved the file, and each took a copy of the entire project on a memory stick to go and start our own mixes.
Lead Guitar + Harp + piano
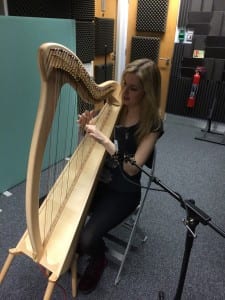
Today was extras day, so we decided to set up in the Live room and the dead room, we set the Harp up in the live room, using the Jack output on the harp to DI straight into a box and then into the wall snake. we also set up an AKG 414 to get the sound of the acoustic harp. At first we had a bit of trouble getting a signal from the DI box, but it turned out that someone had put the jack cable into the line in instead of the instrument input. after we fixed that we listened to both of the signals together, and blended them to get a nice, balanced sound.
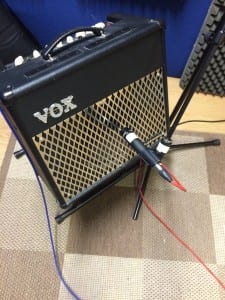
after we recorded it we listened back to the Harp to check everything was okay, and then proceeded to set up the electric guitar amp. we set up an SM57 microphone against the amp, and an AKG 414 as a room mic, set to omni-directional to pick up the sound of the whole room. we spent about 15 minutes discussing what tone we’d like to fit the song, but the guitar choice was wrong for the song, whereas this piece would have suited something like a stratocaster, we only had a Les Paul, with pickups more suited to heavy music, rather than pop rock.
after a lot of tweaking with the guitar and the amp we found a usable tone, then we went through to the control room, set up the headphone mix and microphone levels, and went for a take, there was some mis communication over the structure of the song but in the end we managed to record 2 usable solos for the middle and end of the song. when we came to recording the piano it was relatively easy, we just used the line out from the piano and plugged it into the DI inputs on the snake, we set up the headphone mix and the gain on the line signal and were able to record in one take, after this we had the chance to record a few string swells and then we decided we had enough to work with.
Vocals
One of the most important things to get a great vocal take is to make sure that the performer is comfortable with their environment. If the singer is uncomfortable then you won’t get the best performance they can give you. so we made sure that Abigail was comfortable with certain things such as microphone placement, height, the headphone mix, and the particular microphone being used. Pitching is also an important aspect to consider, you have to be sure that the key of the song is correct for the singer, you’ll be able to tell if the key is too high or low for the performer to sing comfortably or not.

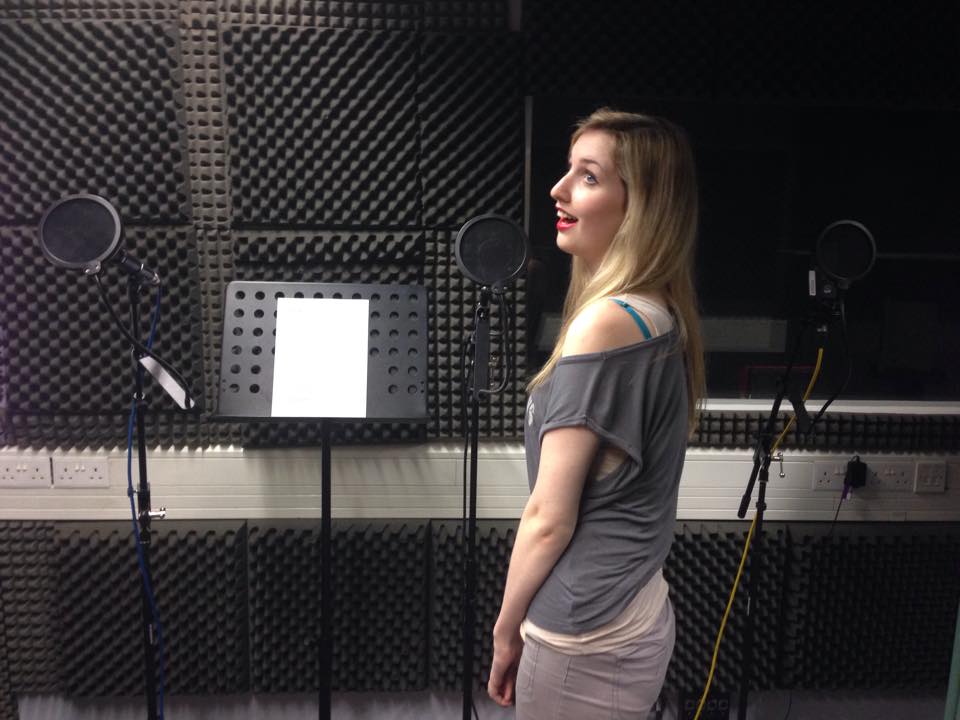
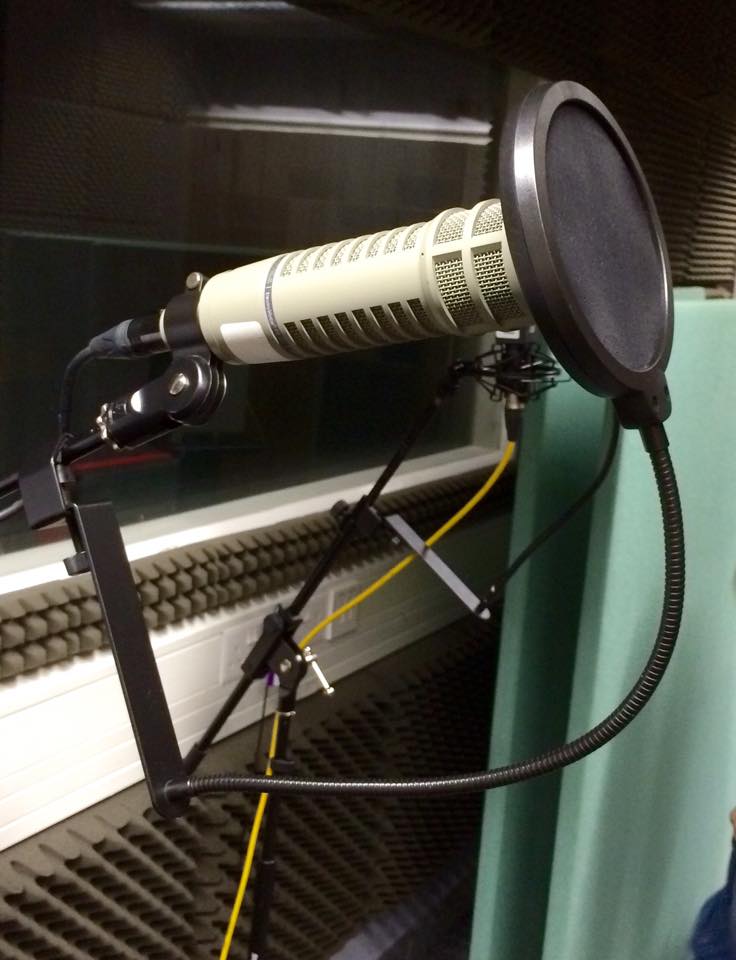
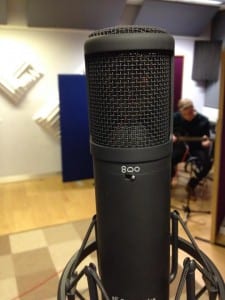
Proximity effect was considered because the closer you are to some microphones the more low end there will be. we set the microphones up so that they were slightly off axis, this is to reduce the strength of sibilances in the recording, we also put a pop filter in front of the microphones to reduces plosives, then we tested the 3 microphones that we had set up; a Shure SM57, an AKG 414, and an Electro-Voice RE20. out of all of these we decided that the RE20 had the nicest sound from the three, because it had a more creamy sound than the other two, which suited Abigails voice and complimented the piece well.
We EQ’d the microphone to cut out some low end because Abigails vocals are higher pitched, this means that the lower frequencies weren’t being used. after we picked the right microphone, set it up properly, and EQ’d it, we went for a take. Everything went well. We were going to go for a second take to double track the vocals but we unfortunately ran out of time.
Acoustic Guitar
This week we recorded 2 acoustic guitars, we decided to record them both at the same time for a better live feel, we had one guitarist set up in the live room and one in the dead room. for one guitar we decided to use an SM57 for the close up and a condenser mic for the room mic, set to an omni directional polar pattern to pick up the rooms overall sound.

For the other guitar we decided to go with a DI signal, as the clean sound complimented the track and the other guitar well. the SM57 was placed closer to the neck and the soundhole on the acoustic because that way you can avoid heavy guitar pick noises while retaining some of the low endof the guitar, we also placed the r oom mic at the other side of the room, but with the front face of the mic still pointing towards the guitarist, but set on the omni setting because then it pics up the reverberation of the whole room rather than using a cardioid pattern that would just pick up sound in the direction that it is facing. with the DI’d guitar we had a problem with a lot of humming, after a few minutes we realised that we needed to switch the earth lift switch on on the DI box, which gets rid of all of the background noises. when both guitars were sent into the desk and protools at the right levels we went for a take, everything went well except at one point where both guitars were meant to stop for a break one didn’t and we had to do another pre-roll recording to make sure that it ran smoothly. when everything was sorted to run smoothly we played it back and listened for any mistakes and for the general sound of the piece, and to check that we were all happy with everything.